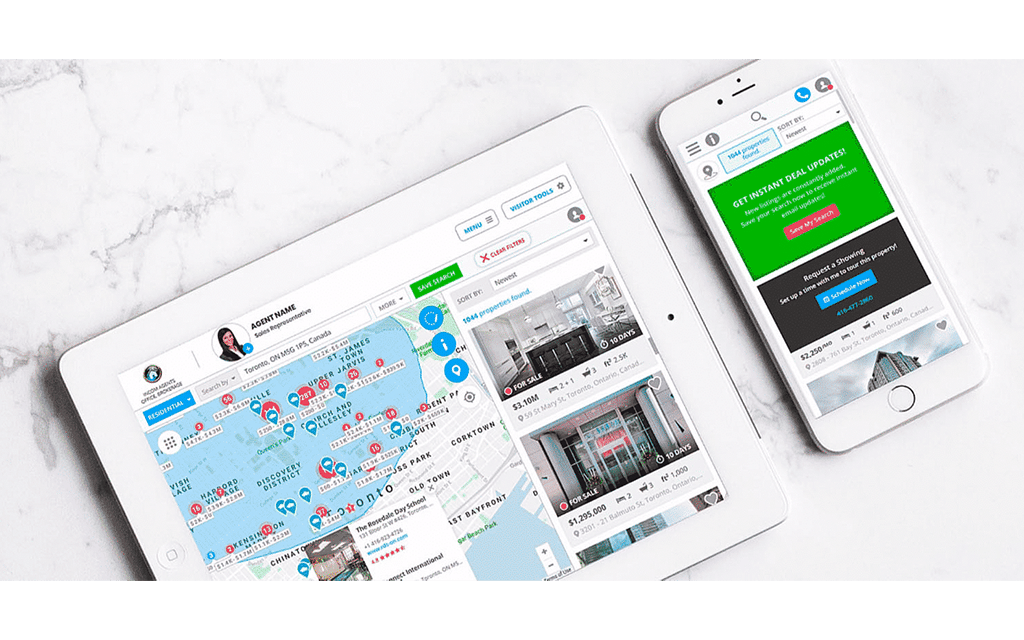
IDX real estate website builders like Real Geeks and Placester are best-in-class, but we still get tons of emails asking about DIY options. Lucky for you, building your own IDX real estate website is pretty easy these days—easy enough for an agent with limited tech skills to build a website with IDX listings, lead capture, map search, and more in an afternoon—without calling tech support. Trust me. It’s not as hard as you might think.
To prove it, we’ll walk you through the basics of IDX real estate websites and how to build your own. We’ll cover terminology, strategy, themes, IDX plugins, and step-by-step instructions to build your own IDX real estate website in just a few hours. Important note: This guide covers how to build an IDX website using WordPress. If you’d rather use a real estate website builder like Real Geeks, check out our guide here: The 6 Best Real Estate Website Builders of 2022.
What Is IDX?

IDX, short for Internet Data Exchange, is the technology that allows Realtors and brokerages to display updated real estate listings from their MLS on their websites.
Here’s how it works: Multiple times per day, third-party IDX providers take the raw listing data from your MLS and send it to the hundreds (or thousands) of real estate websites that have permission to display MLS listings. Whenever a listing is updated in your MLS, it is automatically updated on all the websites that display MLS listings through IDX. In 2022, most IDX listings are updated every 15 minutes.
What’s an IDX Website?
An IDX website is any website that receives an automatically updated feed of listings from your MLS through a third-party IDX provider. That means that an IDX website will have listings just as fresh as your MLS’ website.
Potential buyers will have a very similar experience browsing an IDX website for new listings as your MLS’ site since the listings are updated with data from the MLS automatically.
While many IDX real estate websites are focused solely on listings, others are full agent or brokerage websites with landing pages, About Us pages, agent profiles, mortgage calculators, a blog, videos, and everything else an agent, team, or brokerage might have on their website.
Do I Need to Use WordPress to Build an IDX Real Estate Website?
Absolutely not. There are many ways to build an IDX website, including coding it yourself or using another content management system (CMS) like Joomla or Drupal. Some third-party IDX providers can even send listings to Squarespace sites.
That said, WordPress is far and away the most popular CMS system on the market and has the most tutorials, support, and updates. This is why we strongly recommend that agents and brokerages use WordPress for their IDX website. Of course, if any of this starts to give you a headache or you just want help from the pros, Placester will build a full IDX real estate websitefor you starting at just $64 per month.
I give up, take me to Placester
How to Build an IDX Website in an Afternoon
Now that you know the basics, let’s go through the best way to build an IDX real estate website with WordPress.
Step 1: The Planning Phase

The most important (and most often avoided) stage in building a website is sitting down and figuring out exactly what you want from your IDX real estate website. While this might seem obvious at first (leads!!), you’d be surprised at what you can forget until you’re halfway through building your site. This will also make it easier to pick the right WordPress theme (more on this later) and IDX provider (ditto).
So take 10 minutes and write out what you want from your IDX real estate website. Think of features you’ve seen on other sites, like map search, video backgrounds, blogs, sliders, lead capture, home valuation pages, pop-ups, and the general aesthetic you want for your site. What would you like to offer your site visitors that will turn them into leads?
You don’t need to go crazy here; you can (and should) update and upgrade your site many times over the next few years. So don’t feel pressured to include absolutely everything now. Just take a few minutes to outline the big stuff before you commit to anything.
Study the Websites of the REAL Trends 500 & Take Notes
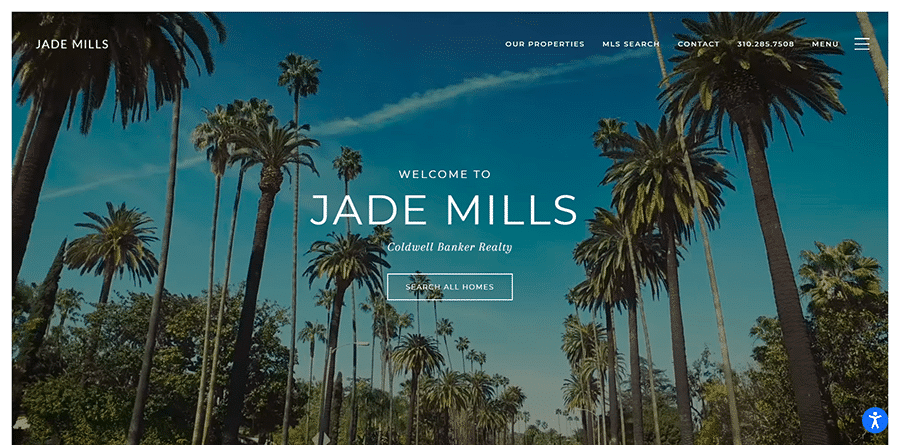
Before you dig in and invest the time and effort to build your own IDX website, take some time to research what it is you like about other real estate websites. To help speed up the process, we put together this comprehensive overview and ranking of the websites of the top 25 agents by volume for 2022 according to RealTrends (below).
What is it specifically about a top producer’s website that you like? Is it the overall look and feel, or something else? Does the site look great because they already had great branding they just plugged into a stock site, or is the overall design unique?
Navigation is another crucial element to consider. As you might imagine, most top producers’ websites have minimal navigation that leads visitors on a customer journey, so notice where and why you click on sites you like.
Real Trends Top 25 Real Estate Agent Websites RANKED (+ Tips & Tools)
Step 2: Choose a Web Hosting Company & Domain Name
Before you even think about building a page for your website, you need to set up an account with a web hosting company. A web hosting company will provide a home for your website online and ensure it always loads quickly and reliably from any device.
For WordPress IDX websites, Bluehost is pretty hard to beat. Here’s why. First, at less than $3 per month, it is incredibly affordable, and second, it has a tool that lets you install WordPress with the click of a button. You also get five email addresses for you, your team, and maybe a few inside sales agents (ISAs), all for less than the price of a cup of coffee per month.
You can set up a quick account at Bluehost here and join us again later. It shouldn’t take more than a few minutes.
Choose & Purchase Your Domain Name(s)
Luckily, choosing a great domain name is pretty straightforward. Just make sure it’s memorable, short enough to yell across a crowded restaurant, and ideally matches your name or personal brand. Unless you think you’re going to spend your entire career at your current brokerage, it’s probably best to avoid including your brokerage name in your domain name. After all, you’re an independent contractor, right? Be independent.
Generally speaking, .com is better than the alternatives, but if you have the perfect name, just can’t get the .com domain name you want, and no one else in your farm area is using it, then, by all means, go for another top-level domain (TLD) like .net, .bix, and so on.
14 Expert Tips to Choose a Great Real Estate Domain Name (+ Name Generator)
Step 3: Install WordPress on Your New Domain
Now that you have a fresh new domain and web host, the next step to building an IDX website is to install WordPress. Since WordPress is open-source, it’s free to install and free to use. Not bad, right?
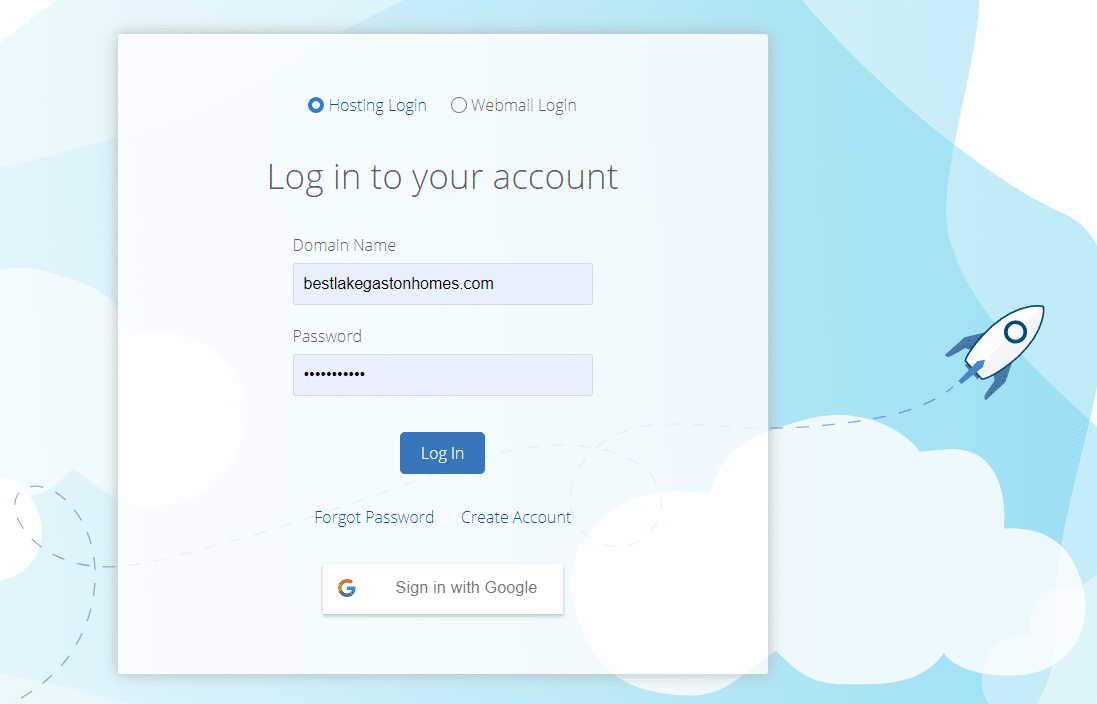
To install WordPress on your Bluehost account, log in to your Bluehost cPanel, click on the Website section, and then click on “Install WordPress.”
Next, click on “Marketplace” and find WordPress.
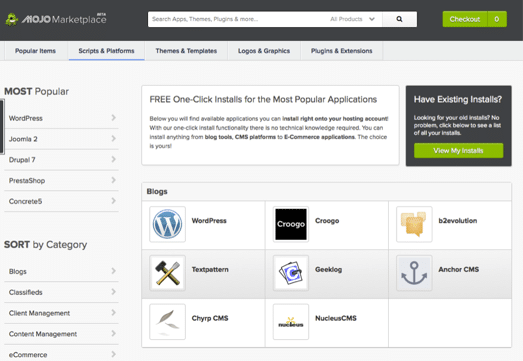
Then click on Install.

Next, you’ll be prompted to choose the domain name on which you want to install WordPress. Choose the domain name you purchased in the previous step, read through and accept the license and service agreements, and finally, click on “install now” to install WordPress on your site.
Congratulations! You now have your very own WordPress website ready to rock! Pretty easy, right?
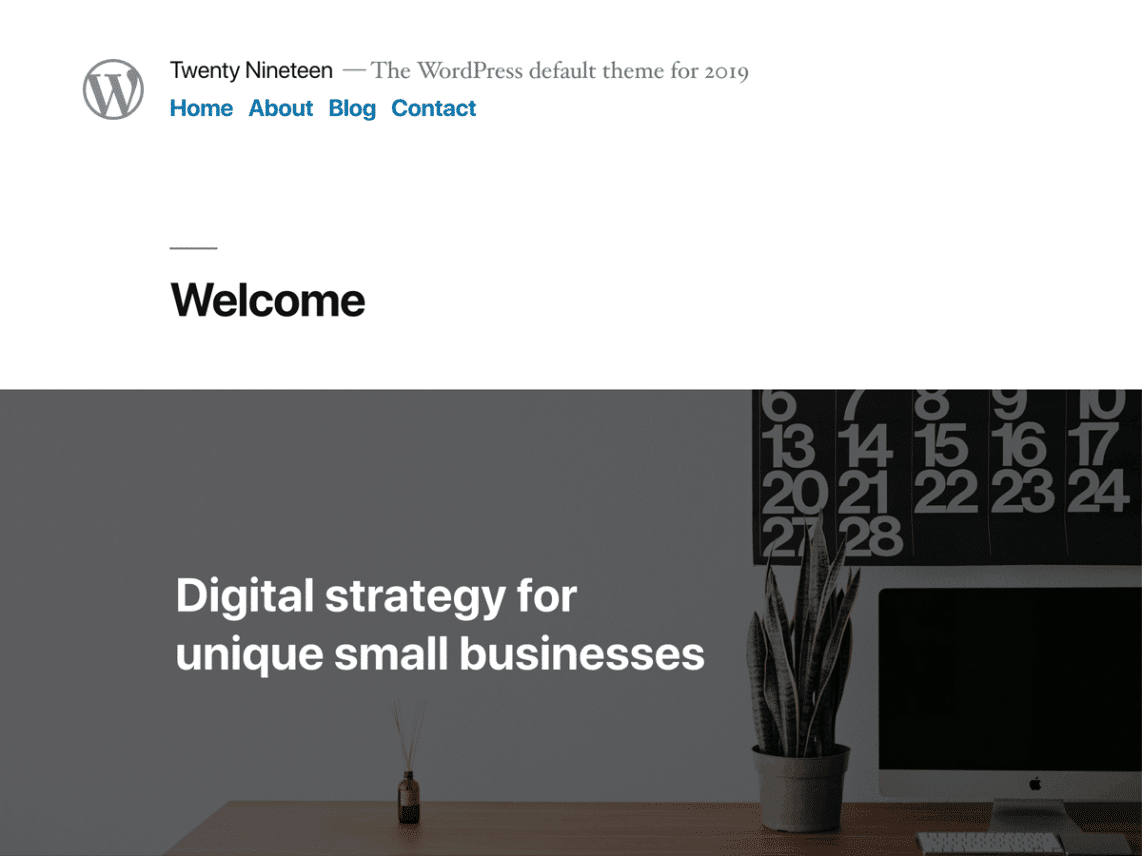
Next, follow the prompts to connect to WordPress.com and create an account. Now that you have WordPress up and running on your web host, let’s move on to making your website look great and adding IDX so you can get MLS listings on your site.
Step 4: Choose Your Third-party IDX Plugin for WordPress
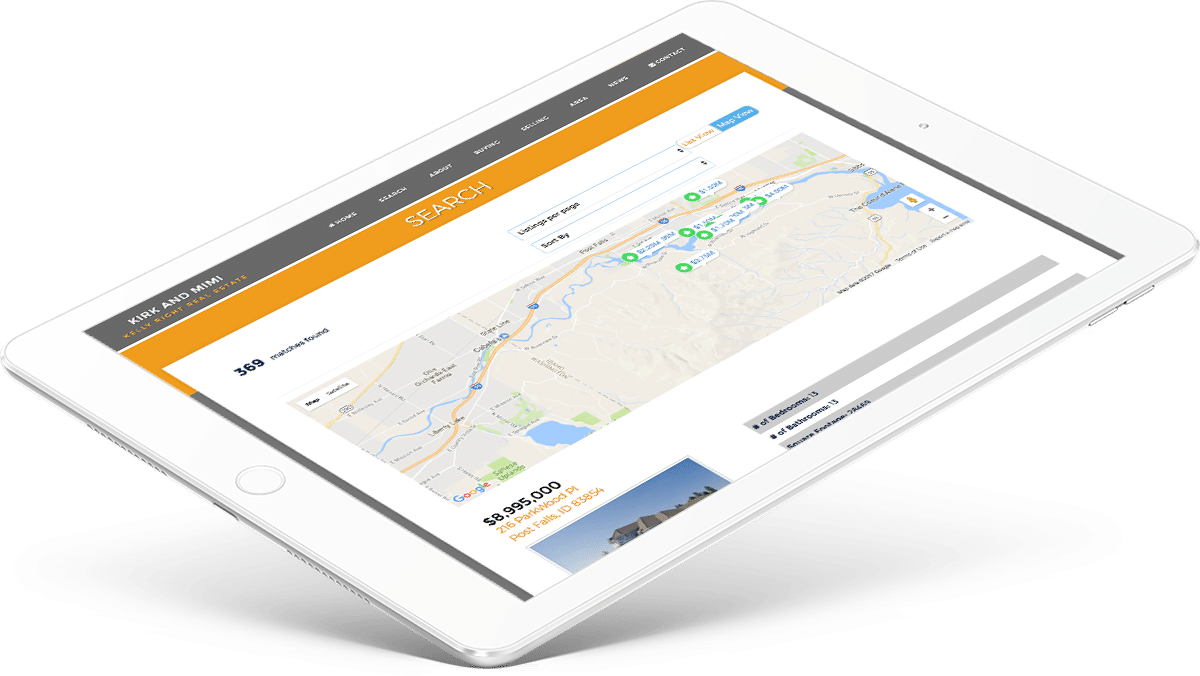
Before you get started building your WordPress IDX site, you’re going to want to pick out your IDX plugin—or at least research some good options. Luckily, with only a few IDX providers to choose from, your decision will come down to price, features, and compatibility.
What Is an IDX Plugin?
In WordPress, plugins are small add-ons that you can use to change how your WordPress theme looks or behaves. An IDX plugin translates the raw listing data from your MLS into code that WordPress can turn into attractive listings for your website. IDX plugins can also provide features like listings search, map search, widgets, lead capture, and more.
How Much Do IDX Plugins Cost?
IDX is a pretty inexpensive plugin for your IDX website. Generally speaking, you’ll pay between $50 and $99 per month for an IDX plugin. Most IDX providers offer much more than just a simple connection between your MLS and your website, so the cost is well worth it.
How to Choose the Right IDX Plugin
Since there is a lot of competition in this space, and only a handful of providers, take a quick run through the features each provides and then sign up for the one that suits your needs best. Here are the four most popular IDX providers for WordPress, along with some information to help you choose the best one for your needs:
IDX Provider Comparison Table 2022
| IDX Provider | Pricing | Free Trial? | Setup Fee |
|---|---|---|---|
| Showcase IDX | $59.95-$99.95 per month | 30-day free trial | No setup fee |
| iHomefinder | $49.95-$129.95 per month | 30-day free trial | $99-$499 |
| IDX Broker | $55-$140 per month | No free trial | $99 |
| Flex MLS | $499 per year | No free trial | No setup fee |
Step 5: Choose & Install an IDX-ready WordPress Theme
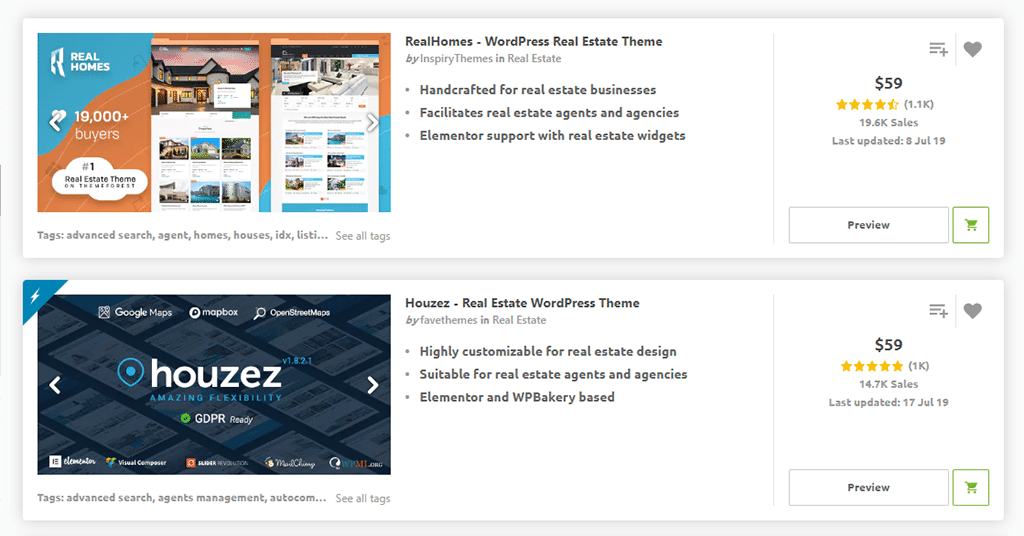
Now it’s time to pick a WordPress theme that looks great, provides the features you want, and can work with your chosen IDX provider.
What Is a WordPress Theme?
A WordPress theme is a template or collection of templates that control how your WordPress site looks and acts for site visitors. If you’ve ever used a Word, Excel, PowerPoint, or Google Slides template, a WordPress theme is pretty similar except that it’s far more powerful. Themes also generally include many different templates for everything from pages, headers, fonts, colors, backgrounds, and even lead capture and other advanced features.
How Much Do Real Estate WordPress Themes Cost?
Unlike your IDX provider, you don’t have to pay a monthly fee for your WordPress theme. Instead, you can just buy them. Good themes can run from $20 to $99. However, since this is a one-time fee, I would highly recommend not skimping here to save a few bucks. An extra $20 or $30 spent on your theme can make a massive difference in the quality and user experience of your website.
How to Choose the Perfect WordPress Theme for Your IDX Real Estate Website
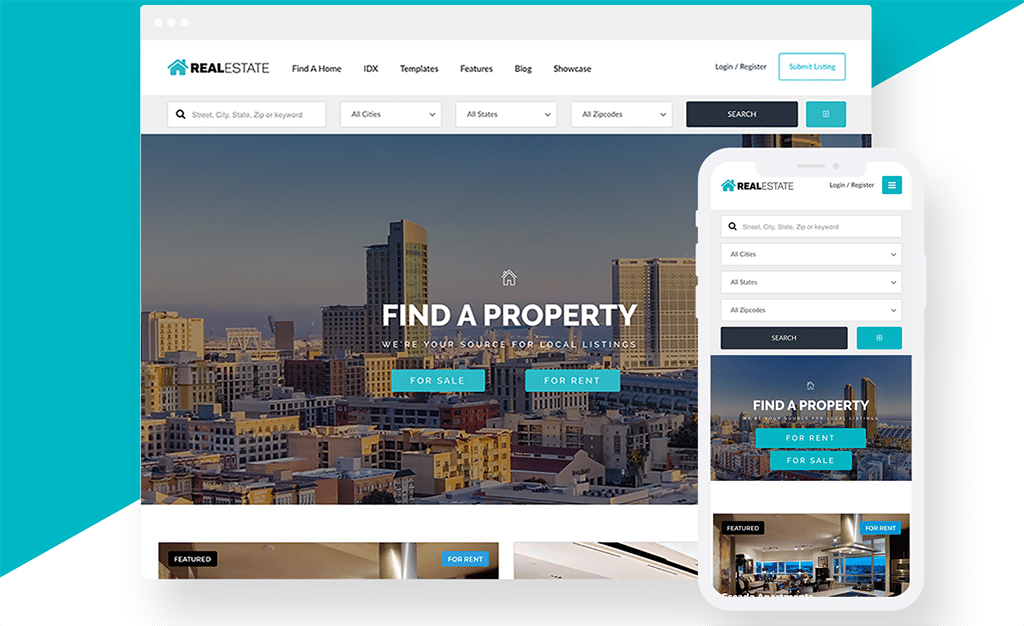
Remember that back-of-the-napkin list of features and bells and whistles you want for your website? Well, here’s where it comes into play. Use the list of features you want to help you narrow down your choices when picking out a WordPress theme.
Here are a few critical (and not so critical) criteria to keep in mind when choosing a WordPress theme for your IDX real estate website:
1. Is It Compatible With Your IDX Plugins?
While most modern themes will be compatible with your chosen IDX plugin, it’s always a good idea to check.
2. Does It Offer Enough Customization Options?
One of the coolest features WordPress themes offer is templates with multiple page layouts and styles for different parts of your website. For example, a template might have four or more unique page designs just for the homepage, three for the About Us page, and three for the Contact Us page.
3. Which Plugins Come With the Theme?
While the vast majority of the plugins you’ll end up using for your IDX real estate website will be free apart from your IDX provider, it’s nice to get a bunch of useful plugins along with your theme. Visual Composer, Yoast, Mailchimp, Contact Form 7, and Slider Revolution are standard plugins commonly bundled with real estate WordPress themes.
4. Is It a Real Estate-specific Theme?
This one is less important than many people think. While real estate themes will commonly have agent pages, listings pages, and ways to set up listings, those listings will need to be manually added and will more than likely NOT work with your IDX provider. So don’t choose a theme based on whether or not it’s an actual estate-specific theme or not.
5. Check Out Reviews & Updates on Envato
Generally speaking, a great theme will have a good number of great reviews on the Envato market. It should also have a log of recent updates to ensure your site is always up to date.
Where to Buy Real Estate WordPress Themes
Here are a few places to check out and buy real estate WordPress themes.
Envato Market

Elegant Themes

Template Monster
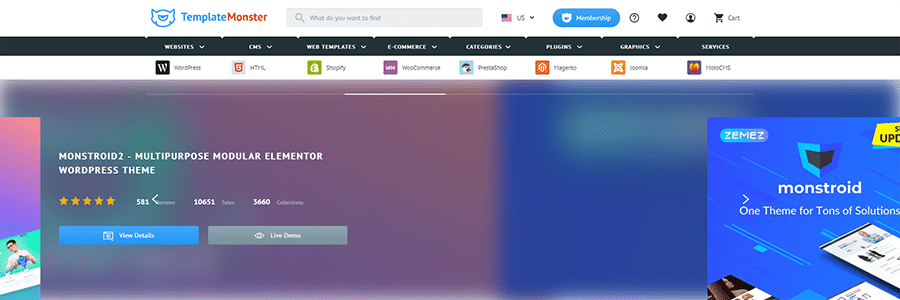
Once you’ve picked out a theme you like with the features you want that support your IDX plugin, buy it, and then download the ZIP files for the theme.
Step 6: Install Your New WordPress Theme
Next, you need to install your new theme into your WordPress account. Here’s how to install it:
First, log in to WordPress, and then click on “Appearance” in the left column of your WordPress dashboard. Then click on “Themes.”
You should see the default WordPress 2022 theme already installed here. This is what The Close’s “Themes” page on WordPress looks like. Note that since we have multiple themes installed, there are a few other themes here besides the default WordPress theme:
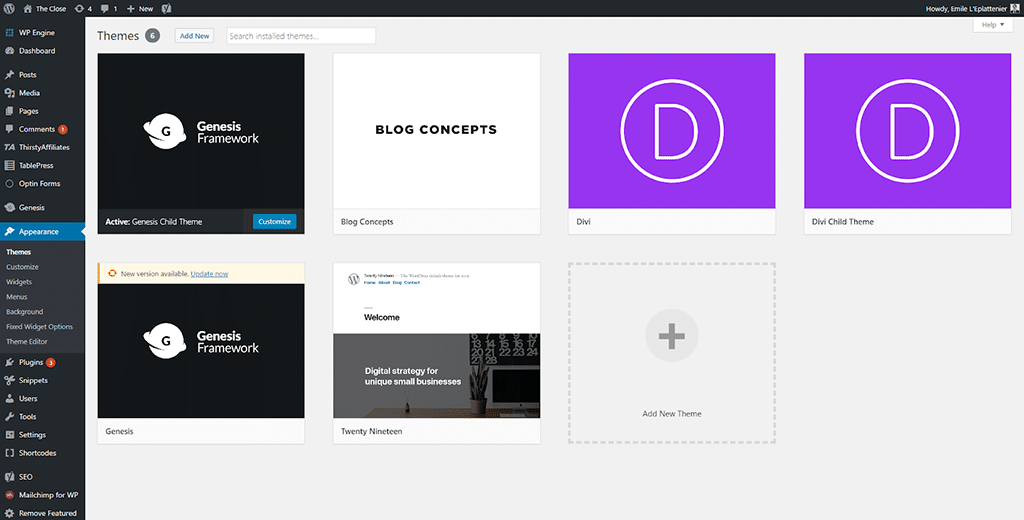
To install your new theme, click on the “add new theme” button on the lower right side of the page. Then, navigate to the WordPress theme ZIP file you downloaded and install it.
Step 7: Install Your WordPress Plugins & IDX Plugin
Next, head back over to your WordPress dashboard and click on “plugins” on the left side menu, then click on “installed plugins” to check which plugins may have been installed with your new theme.
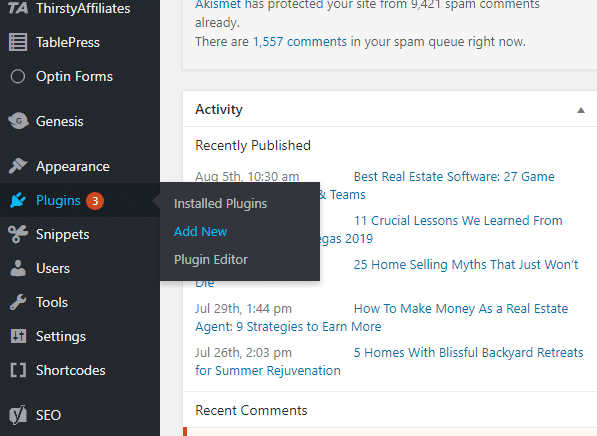
Make a note of which plugins are already installed, then click on “add new.”
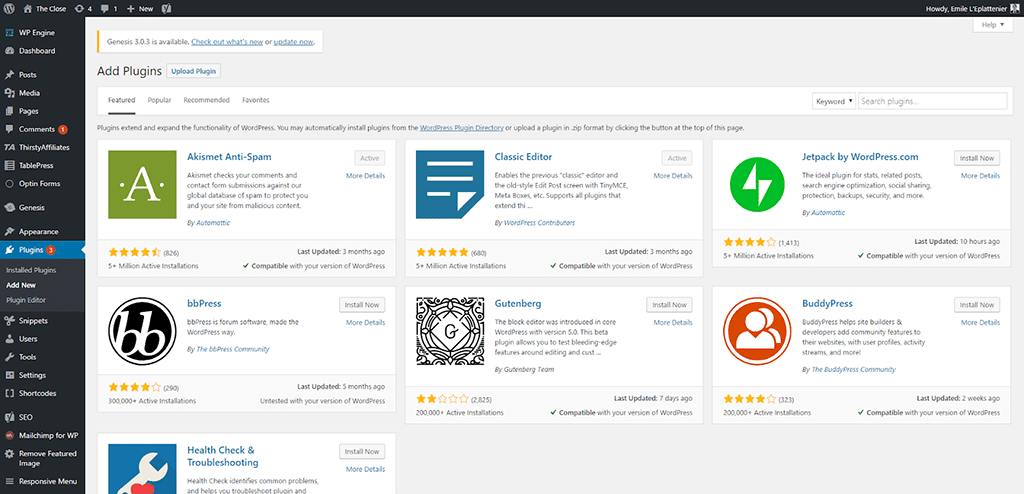
Here you can search for and install any plugins that you want for your site.
A word of caution here: Since thousands of plugins are available for WordPress, it can be very tempting to load up on plugins. After all, more is better, right? Well, for WordPress, the opposite can be true. More plugins can = more problems.
Don’t worry; you’ll have plenty of time to find and experiment with plugins later on. This is half the fun of using WordPress. For now, here is a quick list of plugins you might want to consider that are useful for IDX real estate websites.
Yoast SEO (SEO Checker for Blog Articles)
With over 5 million downloads, Yoast is the most popular (and arguably the best) search engine optimization (SEO) checker for WordPress. Yoast reads the blog posts you’ve created and checks them for SEO best practices like keyword count, keyword usage, readability, and more. There is a limited free version of the plugin and a premium version for $89. Unless you’re very serious about SEO, you should be OK with the free version.
Download the Yoast Plugin (free)
Real Estate SEO: The Ultimate Guide for 2022 (9 Steps to Better Ranking)
Akismet (Anti-spam Plugin)
Akismet is a great anti-spam plugin for WordPress that protects against brute force attacks, and more importantly, spam in your blog’s comment section.
Download Akismet Anti-Spam (Free)
Contact Form 7
Contact Form 7 is a simple and easy-to-use contact form plugin that lets you create and edit contact forms on your website. You can use it to create lead capture forms for landing pages or general contact forms on your website.
Download Contact Form 7 (Free)
Mailchimp (or Whatever Email Marketing Service You Use)
Email marketing plugins allow you to use certain features of your email marketing software on your website. For example, you can include an email sign-up form right on your website to enroll site visitors to receive your drip campaigns.
Download Mailchimp (free-$17 per month)
Your IDX Plugin
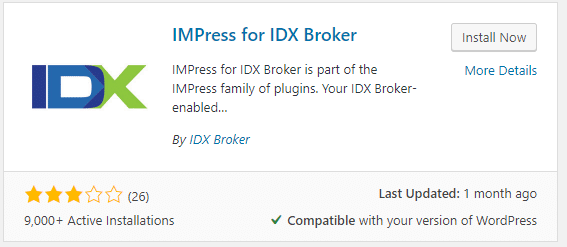
Depending on what IDX provider you chose, you may or may not be able to install the plugin via the WordPress plugin manager simply. You will more than likely already have instructions from your IDX provider, but if you don’t, give them a call.
Step 8: Start Customizing Your WordPress Theme
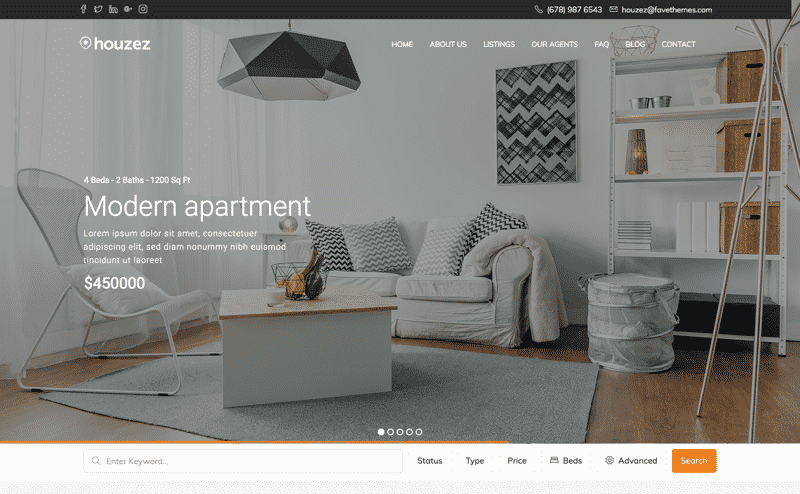
OK, now you have a pretty-looking website set up, but it’s filled with dummy copy and stock imagery. The next step to building out your IDX website is to customize how your theme looks and behaves.
Unfortunately, most of these customization options are going to vary depending on what theme you chose. Here are a few basic things you can change with any advanced WordPress theme to get you started.
Your Logo
Once you add your logo to your WordPress theme, it automatically shows up on multiple pages on your website, and at the top of any new page you create.
Your Site Navigation
Like your logo, your site navigation will show up on every page you want it to and will also show up automatically on every new page you create. Even better, since you edit your site navigation in a single place, the changes you make there also get changed on every page on your site.
Your Footer
The footer area of your site will generally have social media contact information, phone numbers, and a sitemap, which is a list of all the pages available on your site. Like your navigation, your footer is universal and will show up on every page and any new pages you create.
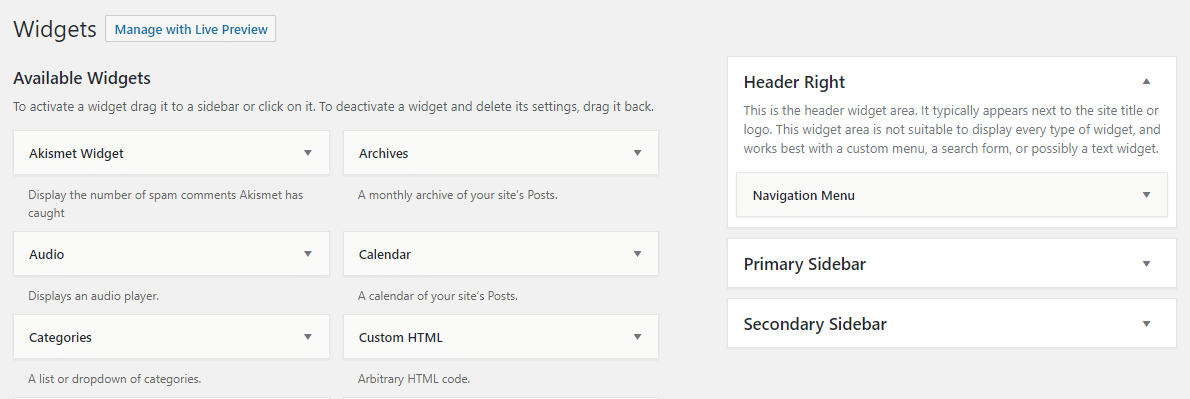
Widgets
Widgets are small pieces of code that let you drag-and-drop site features like search bars, listings by price range, email capture, navigation menus, recent articles, and many more onto any page of your website.
Installing Demos

Most WordPress themes will come with multiple layouts called demos. Demos are fully finished design and layout variations available for your theme. Each one will make your website look very different. For example, the popular Houzez theme has 16 various demos with 16 unique layouts for your site.
Here’s a quick rundown of how to install a demo to change how your site looks. Go to your WordPress dashboard and click on “Tools,” then “Import.” Next, click on “WordPress” and navigate to the XML of the demo you want to install.
Change Hero Images, Slider Images, Logo & Contact Information
Once you’ve chosen a demo to install, you can start customizing it. You can change all of these site elements by going to your WordPress dashboard and clicking on “Appearance,” then “Customize.” Some themes might have different ways to customize site elements, so be sure to read the instructions that came with the theme.
Step 9: Start Building the Main Pages of Your Website
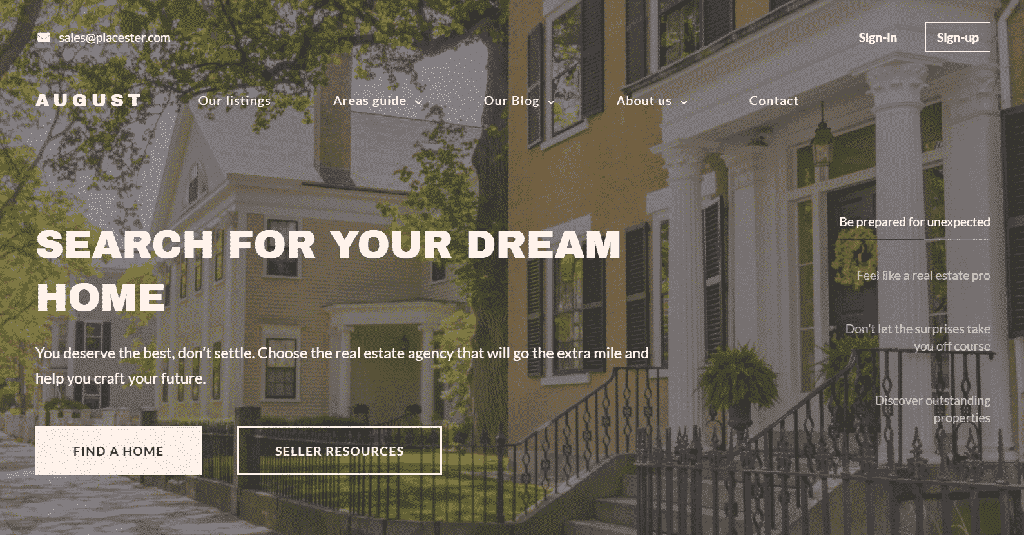
Now we’re getting somewhere. At this point, you should have a site that looks like you want it to and has your logo, images, and contact information ready to go. Next, we’ll start building the pages of your site.
Before we start, you need to understand the difference between pages and posts. Pages are the main pages of your site that don’t change very often. Things like about us, contact us, for sale, for rent, blog, and so on could be pages on your site.
On the blog page, you will have posts. Posts are the individual articles that are on your blog. For the most part, once you have your pages built, you shouldn’t have to change them very often. You should be adding new blog posts as often as you can. WordPress treats pages and posts differently, and you can set different navigation, sidebars, and other features for each.
Pages Every Real Estate IDX Website Should Have
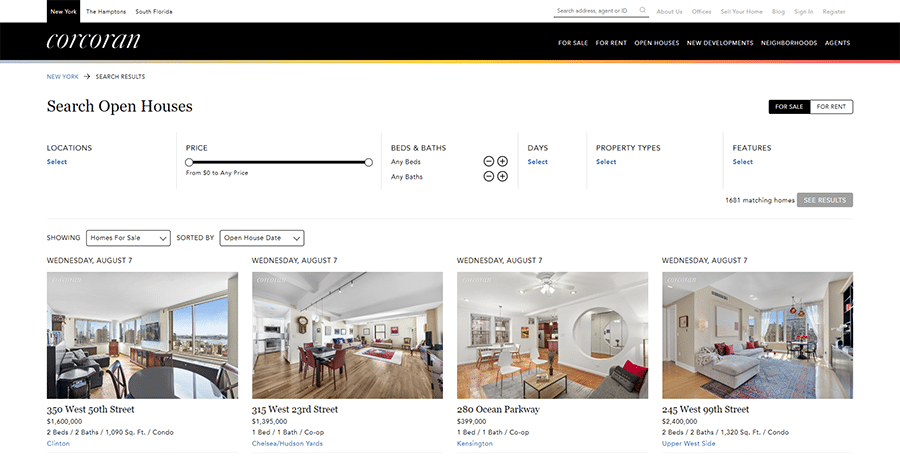
While the pages you have on your website will largely depend on your business, your farm area, and your creativity, here are a few standard pages that most IDX websites have.
- About Us
- Contact Us
- Homes for Sale
- Buyers Guide
- Sell With Us
- First-time Buyers
- Blog
- Neighborhood Pages
- Guides
- Open Houses
- Agents
- Home Valuation Landing Page
Step 10: Write Copy for Your Website
Once you have the main pages of your website set up, you should write the copy for those pages. You should already have basic copy for your about us page, but take some time to edit it to make sure it isn’t too long. For your neighborhood pages, a quick introduction to each neighborhood will work for now.
To learn more about writing great copy, check out our in-depth guide to real estate copywriting here:
[Related article: 7 Real Estate Copywriting Rules Professional Writers Swear by]
Step 11: Set up Your Blog & Create a Content Runway
Even though it might take weeks or months to get to blog writing, setting it up and planning content runway now will save you headaches in the future. Most real estate WordPress themes will already have a blog page ready to go, so you just need to set it up.
Setting Up Your Blog
To start setting up your blog, from your dashboard click on “Pages,” then “Add New.” Next, click on the “Page Attributes” section on the right hand side to open up the “templates” drop-down menu. Choose “Blog” from the drop-down menu, or whatever the blog is called in your theme.
For example, in the Houzez theme, the blog is called “blog masonry template.” Once you’ve set up the template for your blog page, click “publish.”
Now you need to tell WordPress that your new blog page is where the posts you create with WordPress should be published. Head back to your homepage and click on “customize” in the top left corner.

Then click on “Homepage Settings” and select your blog page from the drop-down menu under “Posts page.” Now every time you create a blog post in WordPress, it will be published on your new blog page.
Creating a Content Runway
Even though your blog will always be a work in progress, planning out which articles to write now can be a huge help. This way, you won’t be scrambling for article ideas every week. This is called a content runway, and is the best way to create content for your site.
To get started, you will need to research the keywords you want to target with your articles, what content your competitors are writing about, and finally, what kinds of articles your audience will find useful. You can learn more about setting up a content runway as well as get blog ideas here:
[Related article: 27 Fresh Real Estate Blog Ideas for 2022 (+ Examples & Expert Tips)]
Step 12: Promote Your New IDX Real Estate Website
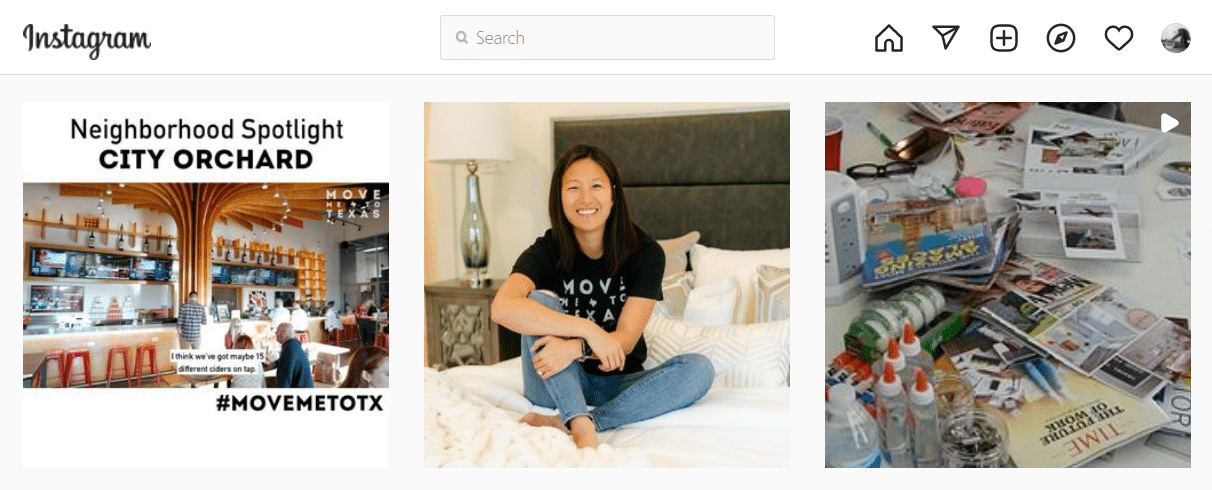
Congratulations! You now have a fully functional WordPress IDX website that’s ready to attract and convert leads to help you close more deals! Of course, a website is pretty useless if you don’t tell people about it. So the next step is to promote your new website everywhere you can. Here’s a quick list of places to promote your new website.
- Social media profiles: Facebook, Twitter, Instagram, Pinterest
- Your business cards
- Your real estate postcards
- Your email signature
- Your Zillow and Realtor profile
How to Use Your New IDX Real Estate Website to Get & Convert More Leads
Your website is the most powerful tool in your arsenal to both attract and convert leads. Even if you promote it all over your social media profiles, that’s still not going to be enough to get a decent flow of traffic to your new site.
In reality, you’re going to have to work hard to get people to visit your site and ideally leave you their contact information or reach out and call you. While we could write a book on all the ways to drive traffic to your site, just keep in mind that you now have a miniature Zillow with all the listings in your farm area. This is something that most people want to visit, so you’re really starting on second base.
Advertise New Listings on Facebook
Once you have your website with landing pages, it opens tons of new possibilities to advertise on Facebook. For example, you might advertise new or underpriced listings on Facebook and then send them to your search page or a landing page with your lead capture form on it.
How to Create Real Estate Facebook Ads That Actually Generate Leads
Advertise Free Home Valuations on Facebook or Google
The best way to get seller leads on your own is to advertise free home valuations on Facebook or Google. You can then send the leads to your landing page with your lead capture form or sign up with a free automated home valuation service like Home Value Leads.
Advertise Free First-time Homebuyer E-books on Social Media
First-time homebuyers, especially millennials, are always looking for great educational content to help them navigate the homebuying process. To generate buyer leads, you can write an educational e-book or private blog post and then advertise it on social media. When buyers come to your page, they will be prompted to enter their contact information to download the content.
5 Clever Real Estate Landing Pages That Convert Like Crazy
Over to You
What did you think of our guide on IDX real estate websites? Naturally, we had to leave a ton of information out—otherwise, this would have been longer than “War and Peace.” What are the topics that we missed that you think we need more coverage of? Let us know in the comments.

